
Learn / 30 Jun 2016 / 0 COMMENTS
A Travel Photographer’s Review of the Triggertrap
Anyone who knows the Sony A7 series, would agree that the Playmemories Store is a terrible app store. Having fiddled around with it for weeks, in order to buy the time lapse app for my A7ii (which should have been included for free in the first place), I opted to go down the conventional route and get a physical intervalometer instead.
But even this seemed to be more difficult than anticipated as even the basic accessories for the Sony A7 were few and far between. Not even online searches were of any help until I stumbled across Triggertrap via one of the online photography forums.
Having owned and used the cheaper eBay intervalometer on my old Canon 5D Mark III, I was now in the market for a more robust offering.
The main appeal of the Triggertrap mobile dongle, is that it allows you to hook up your camera to your iOS or Android phone and use the accompanying app to control and program the camera’s shutter. In essence it turns your phone into a super flexible and easy to use intervalometer and remote that can be controlled using a multitude of sensors or simply the touch of a virtual button.
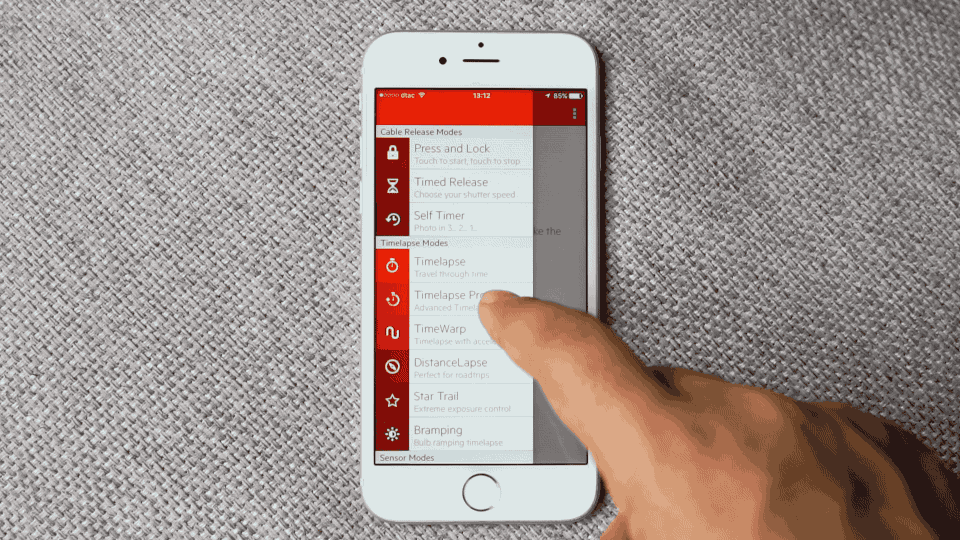
The list of options and features are quite extensive and include modes for:
- Cable Release
- Time Lapse
- Sensor Triggers
- Long Exposure HDR
However the main reason I wanted to get the Triggertrap was to create time lapses which I want to focus on in this review.
First Impressions:
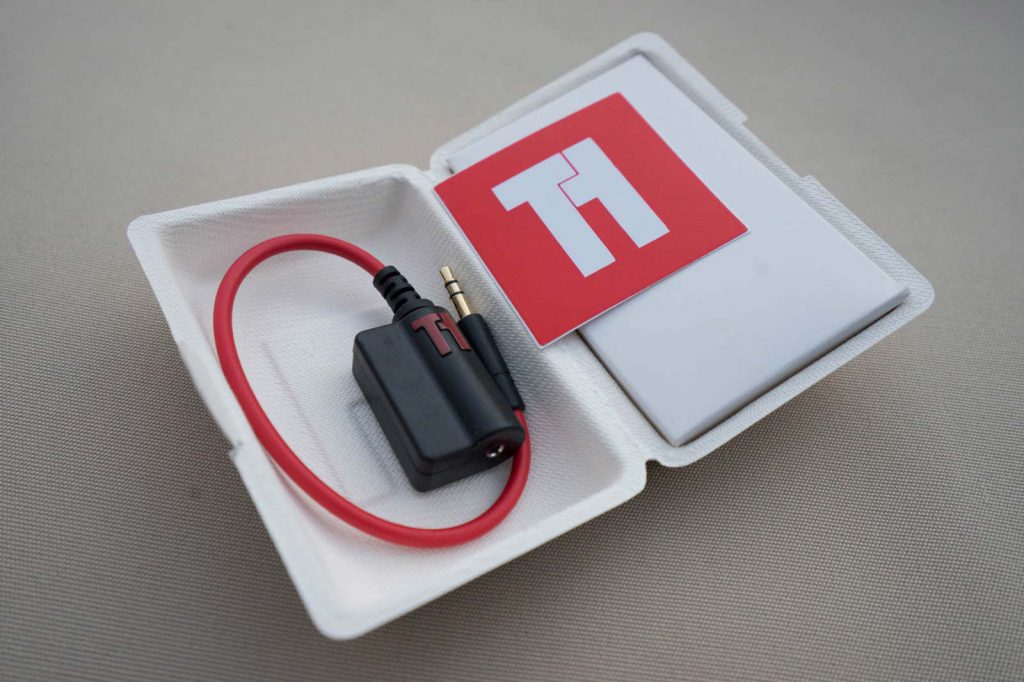
The Triggertrap arrived quickly and came in a small and environmentally friendly packaging. There are two main components of the kit:
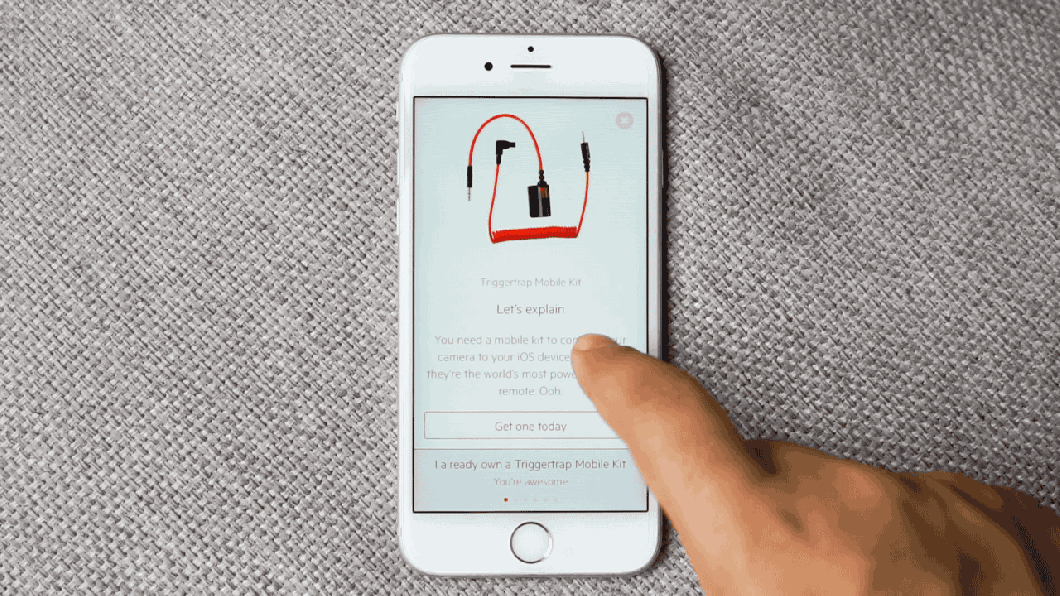
- The mobile dongle itself that connects to the headphone jack of your phone
- An adapter cable to connect the dongle to the respective camera model and brand
This setup is great as you can use the main dongle with any of the supported brands by ordering a separate adapter cable. There is the possibility to use third party adapter cables, but I didn’t get the chance to try it out due to the lack of available accessories for the A7II here in Thailand.
Build, Quality & Design
The build of the dongle and cables are excellent and are what you would expect from a quality accessory. The red and black colour combination of the cables and the dongle itself go well together and lends the kit a very unique and attention-grabbing look. My favourite part however is the coiled cable that allows it to be stretched, whilst keeping the entire kit compact at the same time. The only down point I could find was the size of the dongle box, as there seem to be a lot of hollow space inside, inviting for a more compact design.
The App
Before I even received the dongle I first downloaded the Triggertrap App to check out how the user interface is like. Being a UX Designer myself, I do have a rather high standard when it comes to apps and Triggertrap didn’t disappoint. The design itself is very pleasing. I in particular dig the strong red and white colour palette and the minimal design that focuses your attention straight to the features. This makes it a breeze to discover and learn about the various features in addition to the great tooltips that accompany the app.
Getting Started
Putting the kit together was a piece of cake. You first connect the dongle to the adapter cable and plug the 3.5mm jack into the phone, whilst the other end (which looks like a Micro USB) goes into the Sony A7ii. You need to make sure to put the headphone volume all the way up, which the app does a good job of reminding you of, when you try to use it.
My First Time-Lapse
I didn’t do much research into how to take a time-lapse so I just went with my guts and used my favourite settings by setting my camera to Aperture Priority mode. I also lowered the ISO to 100 and set the image capture file quality to JPEG and Extra Fine to make sure it wouldn’t use up too much space on my measly 16GB memory card.
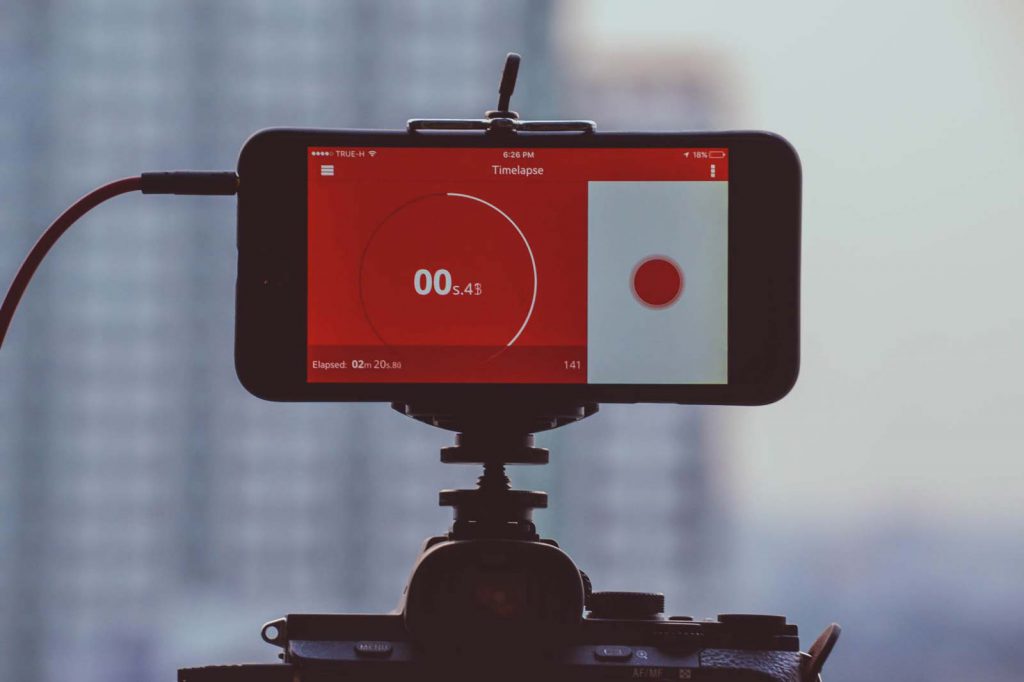
I set up the app by choosing the straightforwardly named time-lapse mode, arbitrarily set the interval to shoot a photo every second and hit the big red button on the screen, and off it went.
One shot.. two shots.. there shots.. The red circle indicating the passing time can be quite relaxing to stare at for a while, but after 300 shots or so I had enough of waiting and stopped the shutter by pressing the red button once again. A quick glance at the camera’s LCD preview didn’t show any issues but the moment I fired up Lightroom and started to stitch together the photos into a time lapse I noticed the first problem:
Flickering
Every 10 – 20 shots or so as the light conditions changed in shot. The camera being set in Aperture Priority mode had a hard time keeping the exposure metered properly and resorted to exposing some shots darker or lighter than others.
The second problem turned out to be the image format I used. Having been used to shooting in RAW for years, I forgot how limiting it can be having to edit blown out areas within an image on a JPEG file and so my time-lapse was pretty much garbage. Rather disappointed, I put the equipment away and forgot about it for a while, until weeks later I was invited to travel to Angkor in Cambodia for the weekend.
Doing Some Homework
Having learned from my mistakes I was determined to improve my time-lapse so I packed all the necessary gear and loaded a couple of youtube videos and articles on the iPad to study on the 8 hour bus journey from Bangkok to Siem Reap. One Youtube tutorial by Rob & Jonas’ Filmmaking Tips was very helpful in teaching you to understand how to shoot better time lapses and post process them properly using Lightroom and a plugin called LR time-lapse.
I also checked Triggertrap’s excellent blog article which has a wealth of information and videos to help you get started with taking time-lapses.
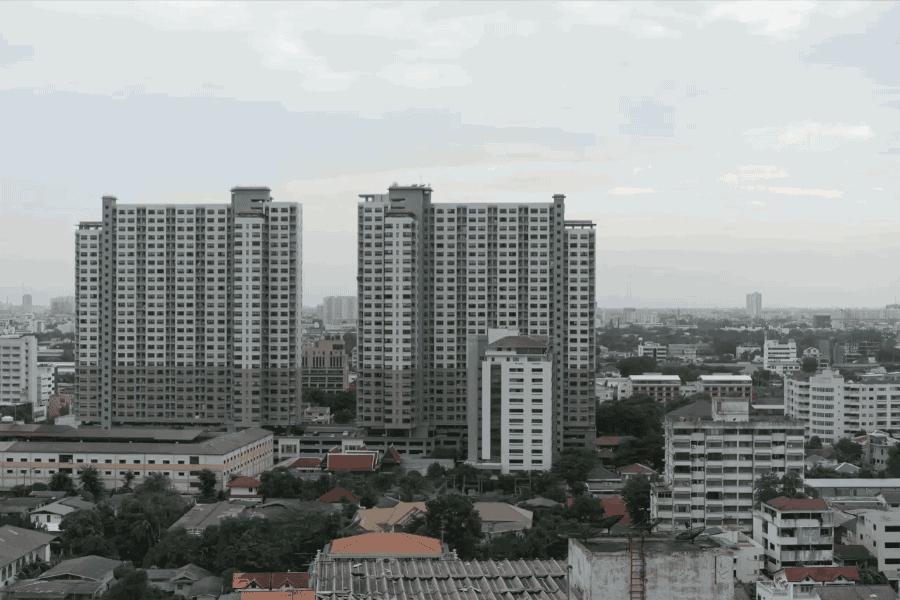
Angkor Timelapse
With the gear ready, it was time to head down to the temples at Angkor and start shooting. Having been to Angkor before, I chose the quieter Banteay Kdei temple and followed through with what I have learned from the tutorials. Instead of using Aperture Priority mode I opted for full Manual mode and made sure to create some test exposures first to get the shots right. I also chose to shoot in RAW instead of JPEG in order to squeeze out more details and dynamic range in post processing.
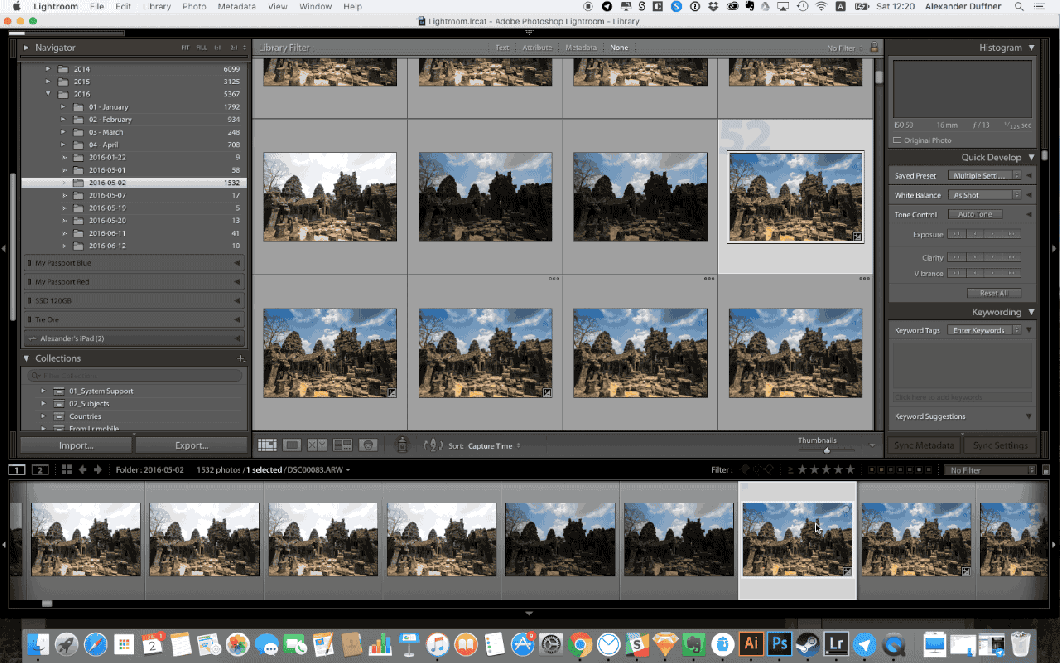
By doing my homework I ended up with a much better set of images that only needed minimal adjustments in Lightroom. Instead of using LR time-lapse to put together all the shots, as recommend in Rob & Jonas’s Tutorials, I went with a trial version of Sequence , a Mac only app specifically made to create time-lapses. Although it worked pretty well, the price tag of 34.99$ is rather pretty steep, so do give it a try beforehand and see if it works for you or not.
One thing I noticed after putting together the time-lapse, was that I must have moved the tripod ever so slightly every time I came to check on the camera. This was easily fixed using After Effect’s motion stabiliser, but you need to have After Effects in the first place to do so. I haven’t tried iMovie or another other free movie editing apps, so do let me know if there is a cheaper alternative out there.

Conclusion
Overall the Triggertrap is a great accessory to connect your phone to your camera in order to turn the former into a very flexible and powerful intervalometer to create time lapses, capture long exposures and control your camera in lots of creative ways.
The build is rock solid and the app easy to use, so the only issue some might have is to justify the price and extra steps you need to go through to accomplish a good looking timelapse. This is especially true if you are just starting with time-lapse and long exposure photography. However if you’re in the market for a physical shutter release or intervalometer the decision is a no brainer.
For this review I only scratched the surface of what the Triggertrap can do, but it has already become an essential part of my kit. Nonetheless with more and more camera makers bundling time-lapse modes in consumer oriented camera models, it has gotten so much easier to start creating time-lapses out of the box. So for many, the Triggertrap won’t add much to their new gear and is just another piece of kit that you need to remember to bring with you.
But as the Sony A7ii has shown, the interface of these camera modes and the in camera app stores often deliver a subpar user experience, and the Triggertrap fills this gap perfectly. Now its time for me to explore some of the other modes and see what other cool things I can do with them.
Pros:
- Great build and design
- Lots of functionality
- Easy to use and learn
- Very small and easy to carry
Cons:
- A little pricey considering the cheap alternatives on ebay
- Many newer camera’s already come with time lapse modes
- You do need to remember to bring yet another piece of kit with you
